Baking (yes, as in cooking!) is the latest go-to trend in the world of makeup, but if you are a fan of RuPauls Drag Race, then you already know it has been a makeup secret in the drag community for years.
While the term baking usually brings to mind cookie trays and sticks of butter, this form of baking has calorie-free products and is a method used by the makeup artists of the stars such as Mario Dedivanovic, who does makeup for THE Kim Kardashian. Baking for this makeup trick refers to letting translucent powder sit on your face for five to 10 minutes, allowing the heat from your face to set your base for foundation and concealer to follow. Once set time is completed, dust off your face and be left with a creaseless and flawless photo finish canvas to get started with!
Here is a step by step guide:
1. Hydrate around your eyes:Apply an eye cream around your eye to hydrate your skin – this helps minimize the appearance of any lines and creases.
2. Apply a thick concealer under your eyes.
Apply the concealer in an upward motion, following the apples of your cheeks in a rounded motion from under your eyes towards your temples, the blend with small circular motions with a damp makeup sponge.
3. Add more concealer.
It might feel like a lot of effort to go to, but trust me, the result is worth it. The second coat of concealer helps with lasting power to ensure you look flawless all day/night long!
Apply the second coat and blend it in again, this is a good time to make sure you cover and smooth out any creases you missed the first time around.
4. Dust on a translucent powder.
Use an eyeshadow brush to apply the translucent powder over the entire area of concealer to set the base makeup.
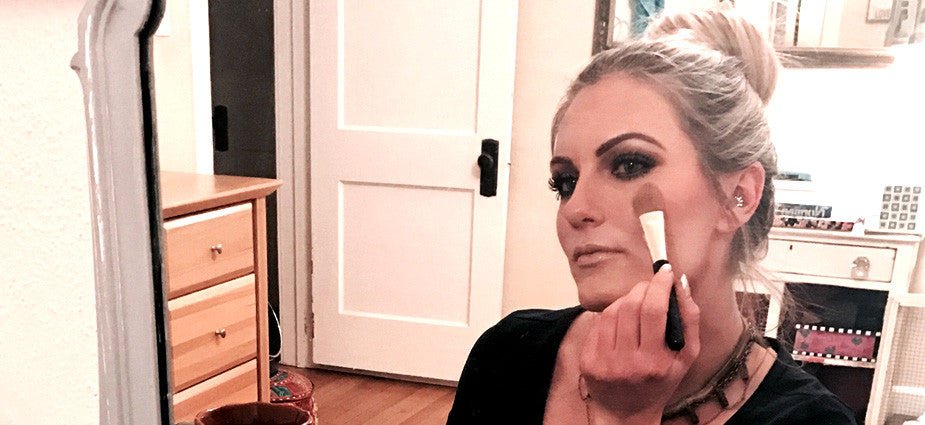
Now, let’s get baking!
This is when the baking starts officially. Using a wedge sponge dampened with a setting spray, dip into the translucent powder and apply under/ around the eye where the concealer is placed. Sit back and sort through your other makeup needs, like eyelashes, and leave the powder to sit for 5-10 minutes in ‘bake mode.’
Dust it off and admired your baked goods! Magically delicious!
Using an eyeshadow brush and a pressed powder, brush over the same area as the concealer and translucent powder and dust away the loose powder, the pressed powder on the brush helps remove loose powder and fill in any spots you missed and smooth out the end result.
You don’t have to stick to just underneath your eyes, as in this example, just follow the same basic steps and you can bake the top of your jawbone, and down the center of your nose, basically anywhere you might usually highlight.
Just remember that after applying foundation and concealer to use a damp makeup sponge to pat on a thick coat of powder on areas that you want to look brighter.
Thanks to your new-found skills, you'll look picture perfect all night as this simple technique highlights and sets your foundations. So what are you waiting for? Get baking!
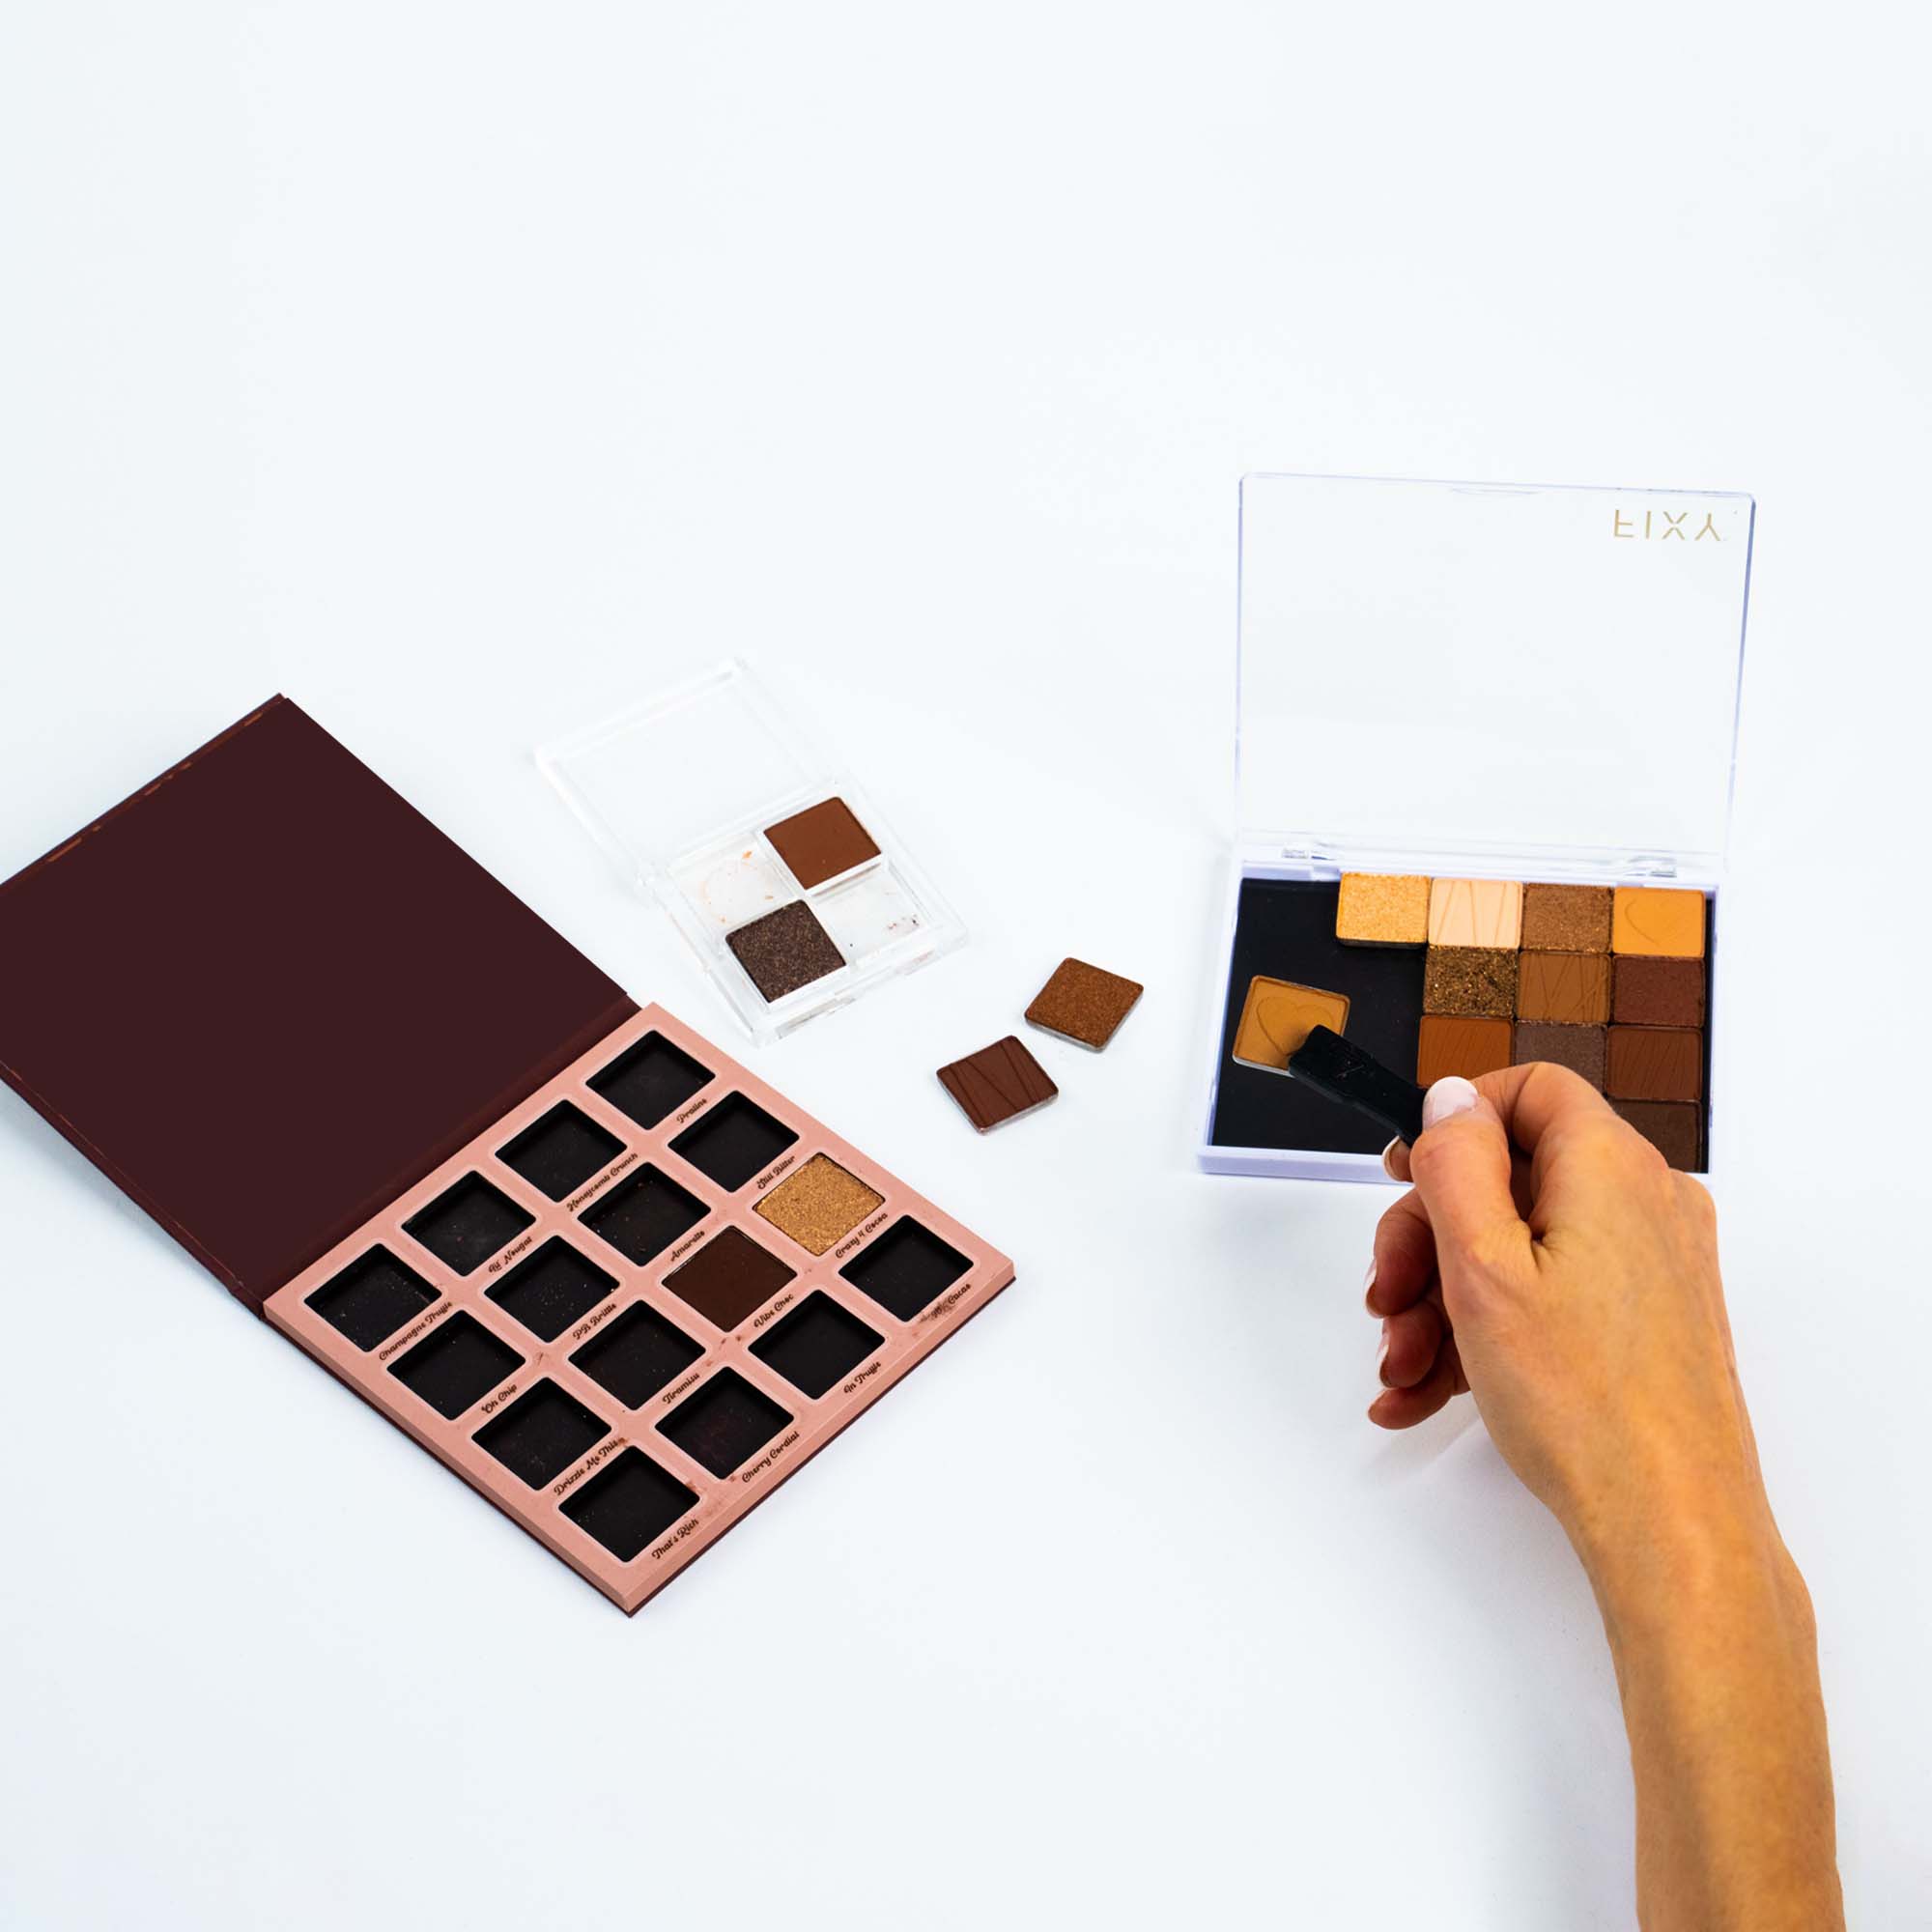
Did you happen to break some makeup while trying this?
Check out our makeup repair kit. It will fix all of your broken powders to brand new!